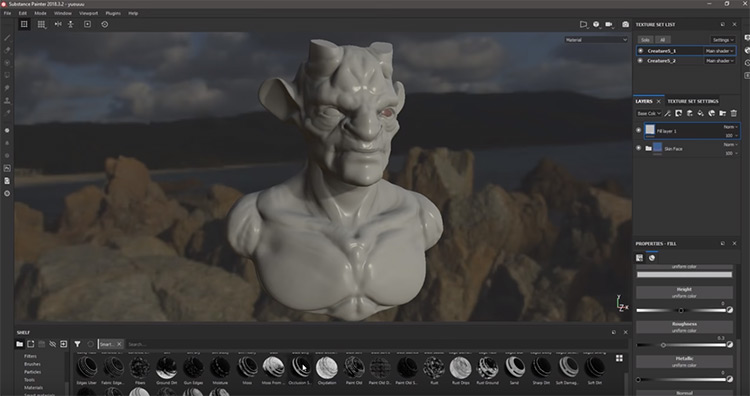
3D painting is when you paint a texture straight onto a 3D model. This is a similar process to 2D painting but requires knowledge of texturing and working with 3D assets. The main software for 3D painting is Adobe’s Substance Painter 2 and Pixologic’s Zbrush.
The advantage of 3D painting over traditional texturing methods is you can see how the texture looks on your model in real time.
This allows you to add finer details to smaller areas of your texture easier as they may be hard to find if you do a 2D unwrap with software like Adobe Photoshop.
Also worth noting that texturing your model is one of the most important steps in making your 3D artwork look more lifelike, or to add your own unique style to the final piece.
So you want to make absolutely sure that you get this essential part of the 3D process done to the highest possible standard.
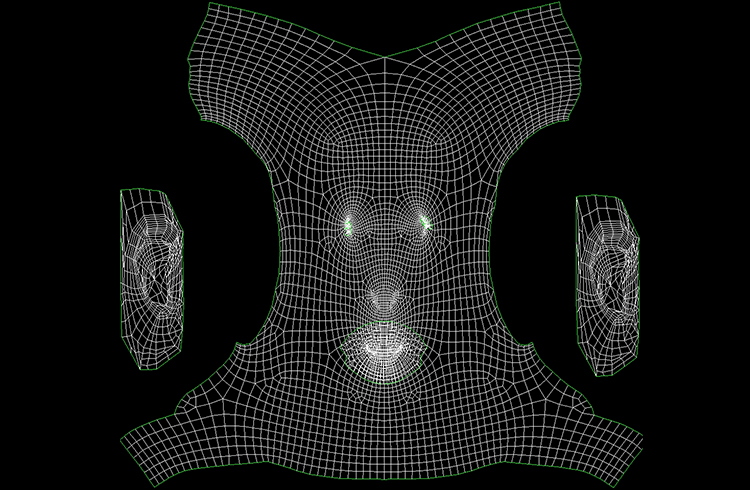
When a model is UV unwrapped the surface of the model can often be warped into a strange shape in order to avoid as much distortion of the UVs as possible. For example, when a human head is unwrapped you often end up with a butterfly like shape.

This can make visualising the texture as you make it in 2D software very difficult, sometimes leading you to have to save it out multiple times to view it on your 3D mesh to see your progress.
This can be quite a time consuming and frustrating process and using 3D texture painting eliminates it entirely.
3D Texture packages are also much more powerful as they allow you to paint on or edit different texture map slots, such as specular or normal maps, with ease.
These can generate fully calculated maps from the 3D model, as it is already loaded into the texture software. This allows you to easily add areas that are shinier, duller, raised or lowered in your texture… all while seeing the result instantly so you know if you’re going in the right direction.
While you can do similar things in Photoshop by making the image grayscale for specular maps, or using the Nvidia normal map plugin, these results are never as accurate as using a 3D painting tool.
Meaning you are usually limited to editing diffuse maps in 2D software.
There are some other benefits to having your model available in 3D while texturing too.
Some packages have generators or particle effects that depend on the angles & orientation of certain parts of your geometry.
Good examples of these are both in Substance Painter.

If you add the worn edges generator it automatically finds where the edges of your model are (by baking what is called a curvature map) and can add wear onto it from there.
It can also add rain or dirt trickling down the model using its particle effects so this is really useful.
And it’s for all these reasons that 3D texturing software is slowly becoming the norm in the industry to get the best results from your models.
In some cases(usually in architectural visualization and some environment modelling) you can use simple premade tileable textures to get good realistic results.
However for more detailed textures, or for things with imperfections that require custom made textures, 3D painting is the way forward.
Also if you would like to give 3D painting a try yourself just know that Adobe offers a demo for Substance Painter and Pixologic similarly offers a Zbrush demo.
If you want to try either one just to test out the process we do have plenty of resources and tutorials that’ll point you in the right direction.
