The main difference between high and low polygon modeling is exactly what the name implies: whether you use a high number of polygons in your model, or a low number.
However there are other things to take into consideration when deciding the detail and poly level of each model. Most notably the textures you use in your materials.
This article will go into the differences, the pros, and the cons of each type and why you should decide which technique you wish to use before you start modelling!
Should I Use High or Low Poly?
The answer to this question is highly dependent on how you intend to use your model once it’s done.
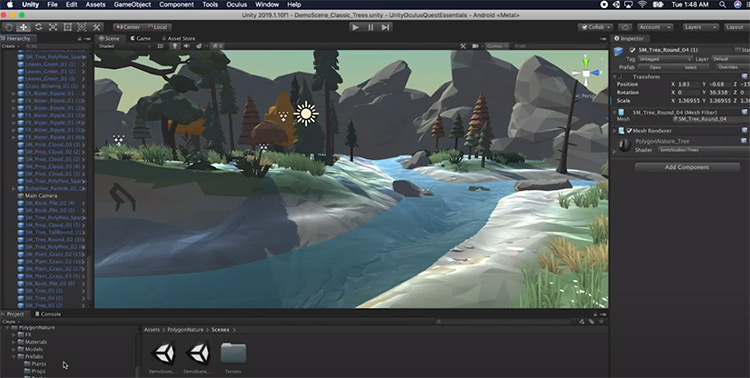
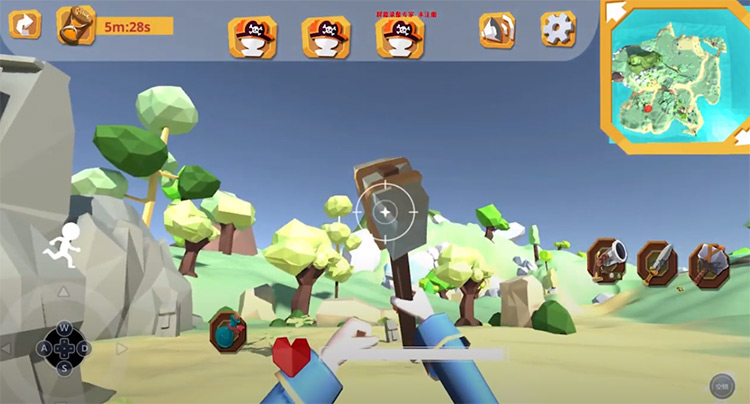
If you are making a model that you intend to use in a game, or render in a real time engine such as Unreal or Unity, then you need to be heavily using low poly modeling.
Low poly models tend to use less computational power to render, so they are more suited for these kinds of engines that need to rapidly calculate how your model reacts in the virtual environment.

However if you’re producing a high quality render, maybe for marketing reasons, then you will often use high poly modeling.
If you are producing still shots or even a video, the amount of time it takes to render a frame is more or less irrelevant. Because of this you can produce models that are more difficult for your computer to calculate, because the end result does not need to calculate any more once it’s completed.
Pros & Cons Of Each Style
The main strength of low poly modeling was briefly touched upon in the last section: ease of use. The lightweight size of these models can make them easier to work with if you’re doing a lot of on-the-fly rendering(common with game development).
This counts for both you and your workstation too. Low poly models can be a lot easier to load, view, and edit on your machine. This also generally leads to quicker render times.

These models can also be easier to work on from a modeling perspective as well. It’s generally easier to make edits to a less complicated mesh, compared to a mesh with millions of polygons.
The downside of low polygonal meshes is that it’s difficult to achieve the high level of detail you may want in your finished product. Because you are using fewer polygons, you have less geometry that you can manipulate into certain shapes. This means things like creases on clothes cannot be made in the mesh.
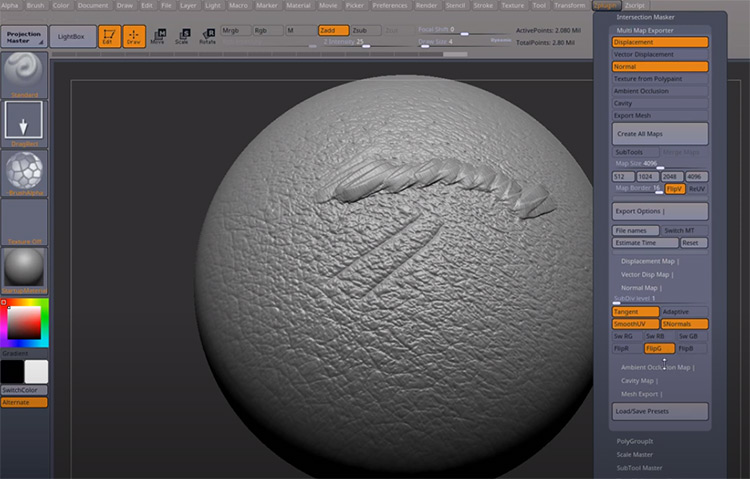
However there is a way around this. Using normal maps and height (or displacement) maps can simulate the way light behaves on the object in the render. This can give the illusion of details being on the model directly.
If done correctly, this can look just as good as modeling in detail.
The final thing you need to consider when making a low poly model is the texture you use, such as normal maps, but just as importantly the diffuse maps you use to add color to your finished mesh.
The size and number of images you’re using in your texture maps just add more resources that your PC needs to calculate. And remember, low poly is great specifically because it can be less resource-heavy!

For this reason you will rarely want to use images larger than 4096×4096 in your low poly models, and may want to condense multiple maps into a single texture sheet (a single image that contains all of you maps that will fit onto a UV unwrapped model).
This is especially important if you are making a game for a mobile phone, as they have much less computational power compared to consoles or gaming PC rigs.
A further benefit of low poly modeling is it helps you practice your optimization skills, so even if you choose to specialize in high poly modeling instead, low-poly techniques can still benefit you throughout your career.
High poly modeling has its own pros and cons too. And they can be easily summarized as the opposite of low poly models!
You can get far more detail in your base mesh, which can allow for far nicer models in the final render, at the cost of renders taking hours to complete.
They can also be harder to work with. If your workstation is using older hardware then working on the model can become a chore. Moving around the viewport becomes a slow process and making edits can take a long time due to the density of the mesh.
You can also use images at very high resolution. And use as many images as you want for your materials, which can make texturing slightly easier and give higher fidelity results.

On the whole, it’s a good idea to familiarize yourself with both of these modelling styles as they both have their uses.
Even in the case of low poly modeling, an increasingly popular way to produce them is modeling the low poly base mesh, then making a clone that you add high poly detail onto.
From there you can use software such as Substance Painter to bake the high poly mesh detail onto the low poly mesh as a normal map. The more you do this, the easier it gets.
This gives you a result that is comparable to the high poly model, but with all the benefits of a low poly model! Just note this requires proficiency in both modeling methods, and that’s one big reason why you should consider practicing both.
